We’re excited to see you at Developer Day on Tour and that you’re interested in joining the developer training hands-on workshop!
Important In the workshop, we’ll be using the Tunnel to redirect requests you make to your local machine. If you’re using a corporate issued laptop with moderate to high security we would recommend using a personal computer instead for this workshop to avoid problems.
There are just a few things you need to do before you attend. Completing these steps should only take 15 to 30 minutes; however, if you run into any blockers, you can reply to this post.
- Create a free Atlassian developer site (Jira & Confluence)
- Set up your development environment (Node.js)
- Install the Forge Command Line Interface (CLI)
- Log in to Forge CLI with your Atlassian API token
- Verify if you have a working set up
- Download your favorite text editor
- Create an account and generate an OpenWeather API key
Create a free Atlassian developer site
To install and test your Forge apps, including the ones we’ll be building during the training sessions, you’ll need to create a free Atlassian cloud developer site. We highly recommend using a free developer site for app development/testing, as opposed to your company’s production Jira and Confluence instances.
- Go to https://go.atlassian.com/cloud-dev to create a site using the email address associated with your Atlassian account.
- Once your site is ready, log in and complete the setup wizard.
Setting up your developer environment
To develop Forge apps, you’ll need to install a few tools, including Node.js. For setup instructions, select your platform from the list below, and follow the directions for installing Node.js:
NOTE: Installing Docker is not required for this developer training session.
Troubleshooting nvm installation on macOS
If you get nvm: command not found after running the install script, one of the following might be the reason:
-
Since macOS 10.15, the default shell is zsh and nvm will look for .zshrc to update, none is installed by default. Create one with
touch ~/.zshrcand runcurl -o- https://raw.githubusercontent.com/nvm-sh/nvm/v0.39.7/install.sh | bashcurl install script again. -
If you use bash, the previous default shell, your system may not have .bash_profile or .bashrc files where the command is set up. Create one of them with
touch ~/.bash_profileortouch ~/.bashrcand runcurl -o- https://raw.githubusercontent.com/nvm-sh/nvm/v0.39.7/install.sh | bashinstall script again. Then, run. ~/.bash_profileor. ~/.bashrcto pick up the nvm command. -
You have previously used bash, but you have zsh installed. You need to manually add these lines to ~/.zshrc and run
. ~/.zshrc. -
You might need to restart your terminal instance or run . ~/.nvm/nvm.sh. Restarting your terminal/opening a new tab/window, or running the source command will load the command and the new configuration.
-
If the above didn’t help, you might need to restart your terminal instance. Try opening a new tab/window in your terminal and retry.
Install the Forge CLI
Install the Forge CLI using npm. You’ll install the CLI globally so that the commands can be run across your system.
- Install the Forge CLI globally by running:
npm install -g @forge/cli - Verify that the CLI is installed correctly by running:
forge --version
You should see a version number reported in the terminal. If a version number is not shown then the installation failed. Repeat step 1 and look for errors reported in the terminal.
Troubleshooting Forge CLI issues
Working on an enterprise machine?
This video runs through some of the most common problems and how to resolve them.
Log in to Forge CLI with your Atlassian API token
Create or use an existing Atlassian API token to log in to the Forge CLI. The Forge CLI uses your token when running commands.
- Go to https://id.atlassian.com/manage/api-tokens.
- Click Create API token.
- Enter a label to describe your API token. For example, forge-api-token.
- Click Create.
- Click Copy to clipboard and close the dialog. This is the only time you’ll be able to view the token, so you may want to paste it into a temporary notepad or text editor.
Log in to the Forge CLI to start using Forge commands.
- From the terminal / command prompt, run the command:
forge login - You’ll be asked whether to allow Forge to collect usage analytics data:
Allow Forge to collect CLI usage and error reporting information?
Answering Yes will allow Forge to collect data about your app’s deployments and installations (including error data). This, in turn, helps us monitor Forge’s overall performance and reliability. The collected data also helps us make better decisions on improving Forge’s feature set and performance.
For information about how Atlassian collects and handles your data, read our Privacy Policy.
- Enter the email address associated with your Atlassian account.
- Enter or paste your Atlassian API token.
Verify you have a working set up
Now that you have successfully installed the software requirements, let’s create a sample application to ensure that everything is working properly.
Create a basic Forge application
- Open up your command line terminal, and navigate to the directory where you want to create the app. A new subdirectory with the app’s name will be created after the steps below.
- Create your app by running:
forge create - Enter a name for your app (up to 50 characters). For example,
f-verify-app. - Select
Jiraas the context - Select the
UI kitcategory. - Select the
jira-issue-contexttemplate. - Change to the app subdirectory to see the app files:
cd f-verify-app
Check the created template
The jira-issue-context template uses Node.js and has the following structure:
f-verify-app
├── README.md
├── manifest.yml
├── package-lock.json
├── package.json
└── src
  ├── frontend
  │└── index.jsx
  ├── index.js
  └── resolvers
   └── index.js
Install the app
To use your app, it must be installed onto an Atlassian site. The forge deploy command builds, compiles, and deploys your code; it’ll also report any compilation errors. The forge install command then installs the deployed app onto an Atlassian site with the required API access.
-
Navigate to the app’s top-level directory and deploy your app by running:
forge deploy -
Install your app by running:
forge install -
Select your Atlassian product (in this case, Jira) using the arrow keys and press the enter key.
-
Enter the URL for the development site you recently created. For example, example.atlassian.net.
-
In the next prompt asking Do you want to continue? Select Y.
Once the Installation Complete! message appears, your app is installed and ready to use on the specified site.
View your app
After a successful installation, it’s time to check out your new Forge app.
- Open a Jira issue. If you do not have one yet, create a new one and open it.
- On the right side of the issue view screen, a new issue context can be seen.

When you see the new Jira issue context (the one highlighted in red), congratulations! That means you have successfully created, deployed, and installed a Forge app in your Jira development instance. Now your environment is all set up.
Download your favorite text editor
In the training session, we’ll be writing some code together, which means that you’ll need a text editor. A text editing app that’s built specifically for editing source code is commonly referred to as an IDE (integrated development environment). For this training session, we’ll be coding in JavaScript, so we recommend using an IDE that supports JavaScript.
If you already have an IDE installed, fantastic! If not, there are plenty of free IDEs you can download online. One of the most popular IDEs available is Visual Studio Code, because it’s free, open-source, powerful, yet simple to use. In fact, the instructors will be using this IDE during your session. It’s available for all major operating systems.
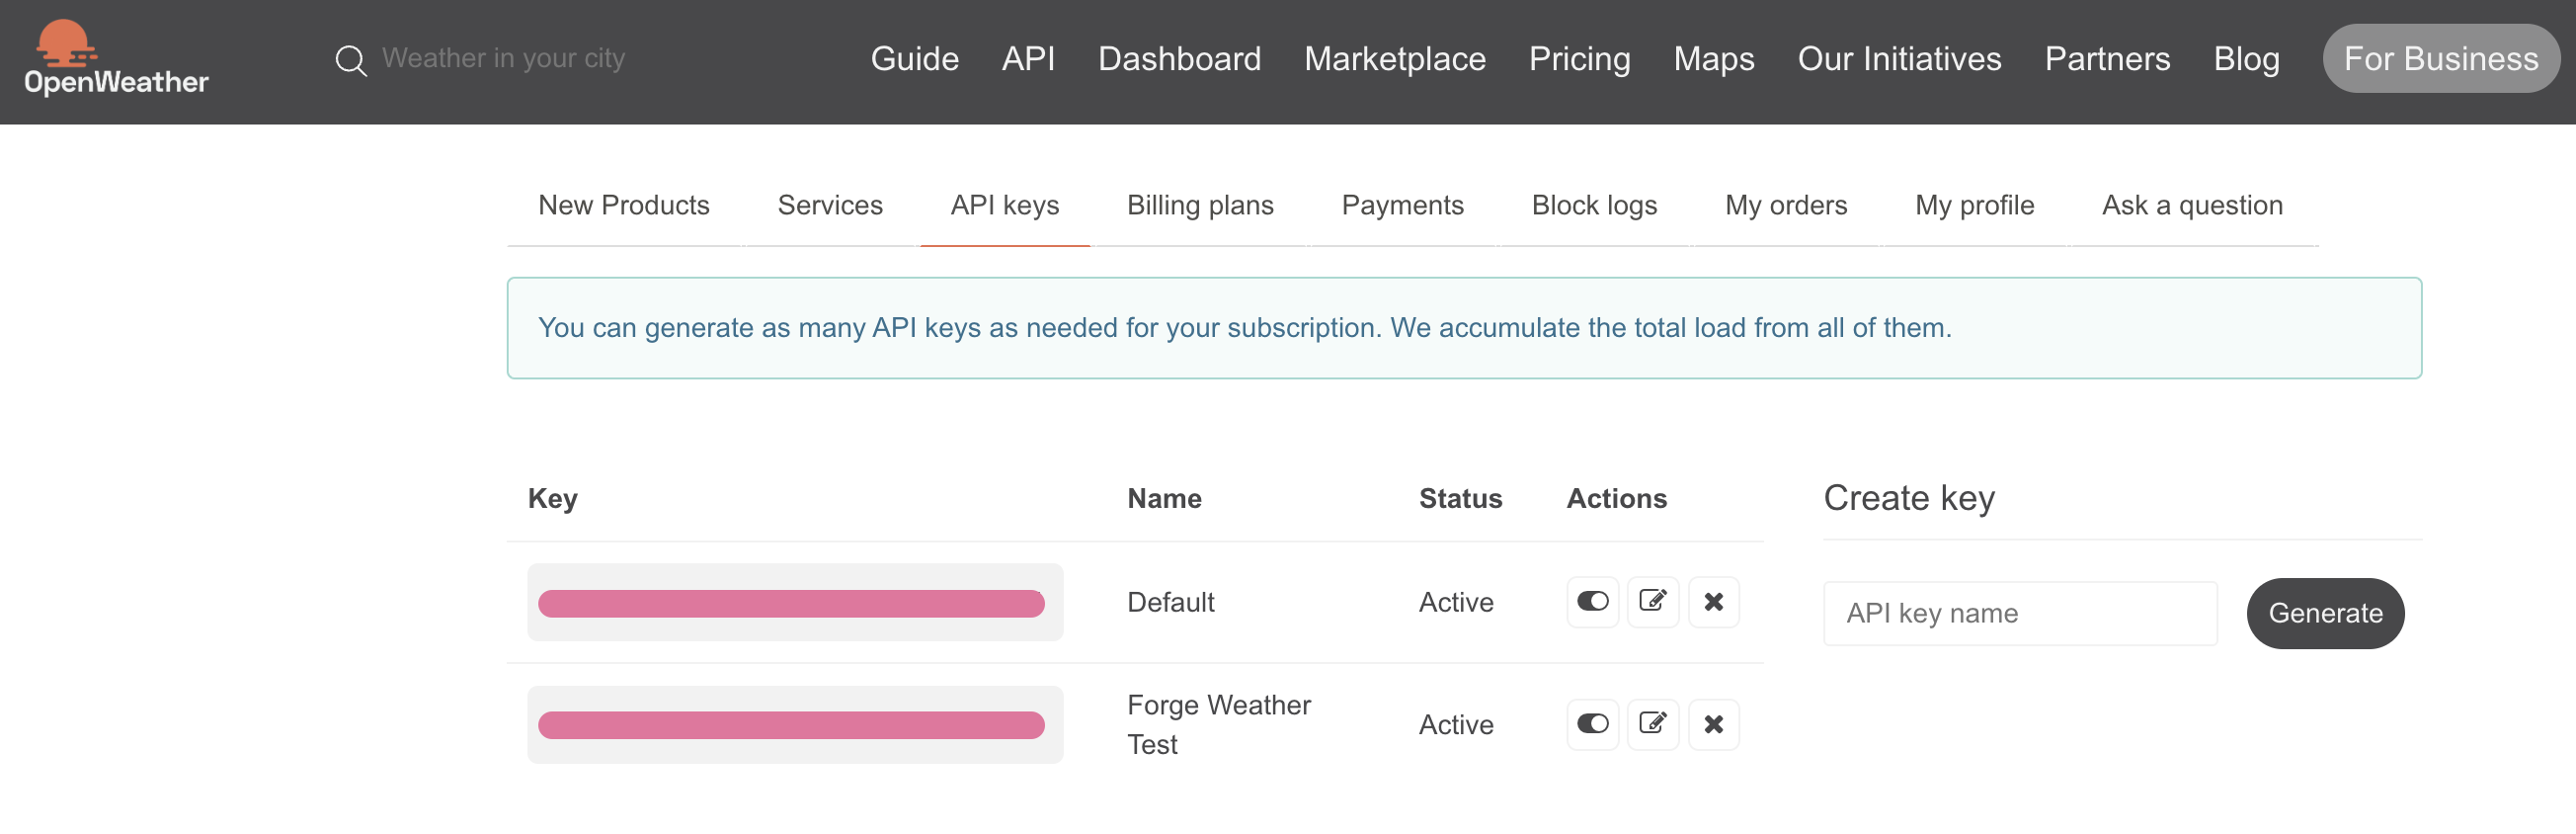
Create an account and generate an OpenWeather API key
As part of the exercises, we will be calling OpenWeather’s API from our app to demonstrate how Forge enables Jira to access external resources and services.
- Go to https://home.openweathermap.org to create an account. Do note that the free account is sufficient to the workshop’s needs.
- Once your account has been created, navigate to the
API keystab to generate your API key.